Creating a website with Hostinger is straightforward and beginner-friendly. You’ll have your site online in no time.
Table of Contents
Hostinger offers an easy way to build websites. Whether you’re a beginner or have some experience, their platform guides you through the process. It’s perfect for personal blogs, business sites, or online stores. You don’t need to know how to code.
Hostinger’s user-friendly tools make it simple. In this guide, you’ll learn the steps to create a website with Hostinger. We’ll cover everything from choosing a domain to publishing your site. By the end, you’ll have a live website ready to share with the world. Let’s get started!
Credit: www.hostinger.com
Choosing A Domain Name
Choosing a domain name is a crucial step in creating a website with Hostinger. Your domain name is your online address. It is how visitors find your site. A good domain name can make a big difference. It can impact your site’s success and visibility.
Importance Of A Good Domain
A good domain name is easy to remember. It also looks professional. It builds trust with your audience. A clear and simple domain name helps with SEO. This means your site ranks higher in search results. People will find your site easily. A good domain name reflects your brand or business. It makes a strong first impression. A bad domain name can confuse visitors. It can also hurt your online reputation.
Tips For Selecting A Domain
Keep it short and simple. Long domain names are hard to remember. Use keywords that relate to your business. This helps with SEO. Avoid numbers and hyphens. They are often misunderstood. Choose a domain extension that fits your purpose. .com is the most popular. Make it unique. Check if the name is available. You can use domain search tools. Think about the future. Choose a name that grows with your business.

Credit: www.youtube.com
Registering With Hostinger
Registering with Hostinger is the first step to creating your website. Hostinger makes this process simple and straightforward. Follow these easy steps to get started.
Creating An Account
Visit the Hostinger website. Click on the “Get Started” button. You will be directed to the registration page. Enter your email address and create a password. Alternatively, sign up using your Google or Facebook account. This step ensures your account is secure and unique.
Choosing A Hosting Plan
Hostinger offers various hosting plans. These plans cater to different needs and budgets. You can choose from shared, cloud, or VPS hosting. Compare the features of each plan. Decide which one suits your website’s requirements. Once you select a plan, click “Add to Cart”.
Next, review your choices. Make sure everything is correct. Then, proceed to checkout. Hostinger often has discounts. Look for any available deals to save money. Complete the payment process. You will receive a confirmation email. This email contains your account details and further instructions.
Setting Up Your Hosting
Creating a website with Hostinger starts with setting up your hosting. This step ensures your website has a place on the internet. Follow these simple steps to get started.
Accessing The Control Panel
First, log in to your Hostinger account. You will see the dashboard. Find the “Hosting” tab and click it. This will show your hosting plans. Select the plan you want to use. Click on “Manage” to access the control panel.
The control panel is user-friendly. It lets you manage all aspects of your hosting. You can set up your website, manage files, and install applications. Take a moment to explore the different options available.
Configuring Server Settings
Now, it’s time to configure your server settings. This helps your website run smoothly. In the control panel, find the “Settings” option. Click on it to open the server settings page.
Adjust the settings according to your needs. You can change the PHP version, manage databases, and set up backups. Ensure that everything matches your website requirements.
Save your changes after configuring the settings. Your hosting setup is now complete. You are ready to start building your website.
Installing A Cms
Installing a CMS (Content Management System) is a crucial step in creating a website. A CMS helps you manage your site’s content without needing advanced technical skills. One popular CMS is WordPress. With Hostinger, installing WordPress is easy and quick.
Why Use A Cms
A CMS simplifies website management. You can add, edit, and delete content with ease. It also offers many plugins and themes to customize your site. You don’t need coding knowledge to use a CMS. This makes it perfect for beginners.
Another benefit is the community support. Many people use and contribute to CMS platforms. You can find tutorials, forums, and help for any issue. This community support is invaluable.
Installing WordPress
First, log in to your Hostinger account. Navigate to the control panel, often called hPanel. Find the “Website” section and click on “Auto Installer.” Choose WordPress from the list of CMS options.
Next, fill in the necessary details. This includes your website name, admin username, and password. After entering the details, click on the “Install” button. The installation process will begin and complete in a few minutes.
Once installed, you can log in to your WordPress admin panel. Here, you can start customizing your site. Choose a theme that fits your brand. Install plugins to add features. And begin creating content for your audience.
Designing Your Website
Create a website with Hostinger easily. Start by choosing a domain name and hosting plan. Use their intuitive website builder to design your site in minutes.
Creating a website with Hostinger is easy and fun. The design phase is crucial to make your site attractive. This is where you let your creativity shine. Let’s explore how to design your website effectively.
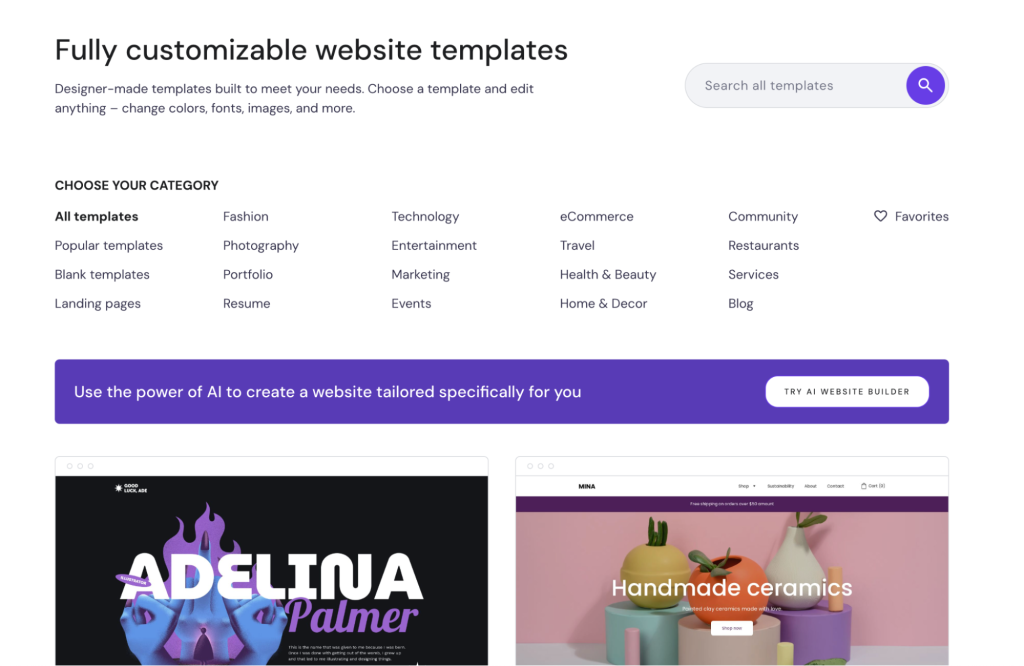
Selecting A Theme
Start by choosing a theme that fits your site’s purpose. Hostinger offers many themes for different needs. Browse the theme library and pick one that matches your style. Ensure it is responsive and user-friendly. A good theme enhances user experience.
Customizing The Layout
After selecting a theme, customize the layout. Hostinger provides tools to tweak your site’s design. Adjust colors, fonts, and images to match your brand. Use the drag-and-drop builder for easy adjustments. Arrange elements in a way that is visually appealing. Keep navigation simple and intuitive. This ensures visitors can easily find what they need.
“`
Adding Essential Plugins
Adding essential plugins to your website with Hostinger can enhance its functionality. Plugins allow you to add new features without coding. From improving SEO to securing your site, plugins are a must-have for any website. Let’s dive into the must-have plugins and how to install them.
Must-have Plugins
Choosing the right plugins can make a big difference. Here are some essential plugins you should consider:
- Yoast SEO: Helps improve your website’s search engine ranking.
- Wordfence Security: Protects your site from malware and hackers.
- WP Super Cache: Speeds up your site by caching static files.
- Contact Form 7: Allows visitors to contact you easily.
- Google Analytics Dashboard: Tracks your website traffic and user behavior.
How To Install Plugins
Installing plugins on Hostinger is simple. Follow these steps:
- Login to your Hostinger account.
- Navigate to your WordPress Dashboard.
- Go to Plugins > Add New.
- Search for the desired plugin using the search bar.
- Click Install Now next to the plugin you want.
- After installation, click Activate to enable the plugin.
Here is an example of how to install Yoast SEO:
| Step | Action |
|---|---|
| 1 | Login to Hostinger. |
| 2 | Open your WordPress Dashboard. |
| 3 | Go to Plugins > Add New. |
| 4 | Search for Yoast SEO. |
| 5 | Click Install Now. |
| 6 | Click Activate to enable it. |
Once activated, configure the plugin settings as needed. Repeat these steps to install other essential plugins.
Creating Content
To create a website with Hostinger, start by choosing a plan that suits your needs. Next, register a domain and set up your hosting. Finally, use Hostinger’s website builder to design and customize your site effortlessly.
Creating content is a crucial step in building your website with Hostinger. High-quality content engages visitors and improves search engine rankings. Let’s explore how to write engaging content and optimize it for SEO.
Writing Engaging Content
Start with understanding your audience. What do they need? What are their interests? Answer these questions to create relevant content.
Use clear and simple language. Short sentences are easier to read. Avoid jargon unless necessary. Make your content easy to scan. Use headings, bullet points, and short paragraphs.
Tell stories or give examples. Real-life scenarios make your content relatable. Ask questions to engage readers. This makes them think and stay on your page longer.
Check for errors. Spelling and grammar mistakes can distract readers. Use tools like Grammarly to help. Ensure your content is clear and professional.
Optimizing For Seo
SEO optimization helps your site rank higher on search engines. Start by using relevant keywords. These are words people search for. Use them in headings, subheadings, and the body of your text.
Add meta descriptions to your pages. These short summaries help search engines understand your content. Keep them under 160 characters. Include your main keyword.
Use alt text for images. This describes the image to search engines. It also helps visually impaired users. Ensure your alt text is descriptive and includes your keyword.
Link to other pages on your site. This keeps visitors engaged and helps search engines index your pages. Use descriptive anchor text for your links.
Regularly update your content. Fresh content attracts both visitors and search engines. Keep your information current and relevant.

Credit: www.hostinger.com
Launching Your Website
After designing and setting up your website, the next step is launching it. This involves performing some final checks and making your site live. This step is crucial to ensure everything works well before the public sees it.
Final Checks
Before you launch your website, perform some final checks to ensure everything is in order.
- Check all links to ensure none are broken.
- Test your site on different devices and browsers.
- Ensure your content is free of spelling and grammar errors.
- Verify that images and videos load correctly.
- Check your site’s loading speed.
These checks help in delivering a smooth user experience.
Making Your Site Live
Once you’ve completed your final checks, it’s time to make your site live. Follow these steps:
- Log in to your Hostinger account.
- Go to the Website section.
- Select the site you want to make live.
- Click on the Publish button.
- Wait for the confirmation message.
Your website is now live! Congratulations! Here are some additional steps to consider:
| Task | Description |
|---|---|
| SEO | Optimize your site for search engines. |
| Analytics | Set up tools to track your site’s performance. |
| Security | Ensure your site is secure from threats. |
These steps ensure your site is not only live but also optimized and secure.
Frequently Asked Questions
What Is Hostinger?
Hostinger is a web hosting provider known for affordable and reliable services. It offers various hosting plans, including shared, VPS, and cloud hosting.
How To Start With Hostinger?
To start with Hostinger, sign up on their website. Choose a hosting plan, register a domain, and set up your account.
Can I Use Hostinger For WordPress?
Yes, Hostinger offers specialized WordPress hosting plans. These plans come with optimized performance, security features, and easy WordPress installations.
Does Hostinger Offer A Website Builder?
Yes, Hostinger includes a website builder. It is user-friendly with drag-and-drop functionality, ideal for beginners to create websites easily.
Conclusion
Creating a website with Hostinger is simple and efficient. Follow the steps, and you’ll have a site ready in no time. Hostinger offers tools that are easy to use. Even beginners can build a professional site. Choose your plan, set up your domain, and start designing.
Hostinger’s support team is always available to help. A great website is just a few clicks away. So, get started with Hostinger today and watch your online presence grow. Happy website building!