Jimdo is a user-friendly website builder. It helps you create stunning websites easily.
Table of Contents
Whether you want to start a blog, set up an online store, or showcase your portfolio, Jimdo can help. This tool is perfect for beginners and experts alike. You don’t need coding skills to get started. Jimdo offers a range of features to customize your site.
It saves time and effort, making web design accessible to everyone. In this guide, you will learn how to use Jimdo step-by-step. We will cover all the basics to help you build your dream website. Get ready to explore the potential of Jimdo and create a site that stands out.
Credit: www.youtube.com
Getting Started
Getting started with Jimdo is easy and straightforward. This guide will help you set up your website. You will learn how to create an account and choose the right plan for your needs.
Creating An Account
First, visit the Jimdo website. Click on the “Sign Up” button. Enter your email address and create a password. You can also sign up using Facebook or Google. After signing up, check your email for a confirmation link. Click the link to verify your account. Now, you are ready to start building your website.
Choosing A Plan
Jimdo offers several plans to fit different needs. The free plan is great for beginners. It includes basic features and Jimdo ads. For more features, consider a paid plan. The paid plans offer more storage, custom domains, and no ads. Review the features of each plan carefully. Choose the one that best fits your needs and budget. Once you select a plan, you can start customizing your website.
Website Setup
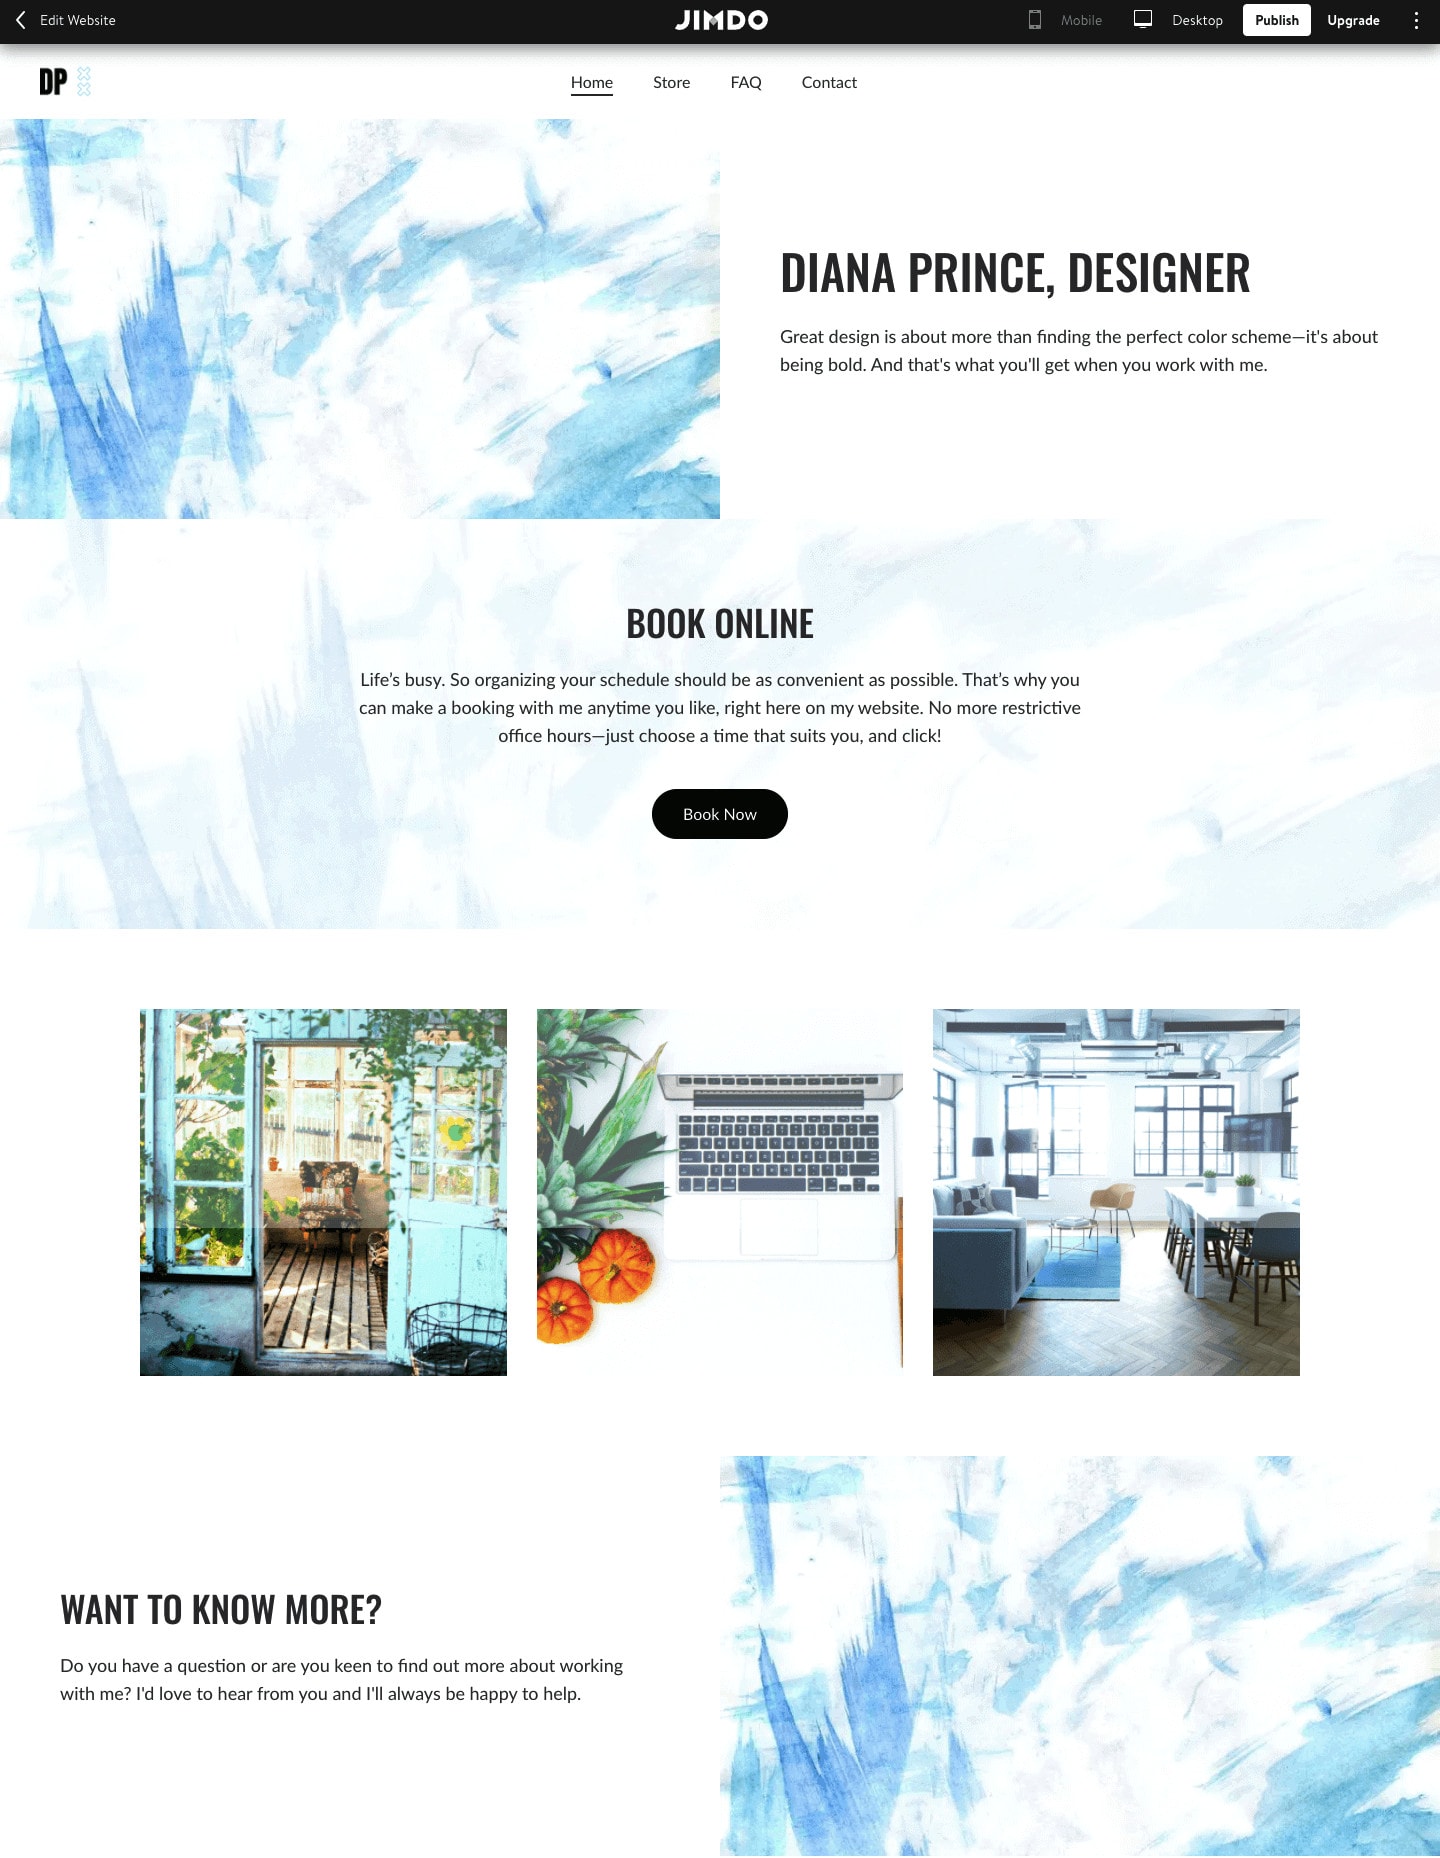
Setting up a website with Jimdo is easy and quick. This guide will help you through the initial steps, from selecting a template to customizing the design. Follow these steps to create a beautiful and functional website.
Selecting A Template
Jimdo offers a variety of templates. Choose one that fits your website’s purpose. Here’s how:
- Log in to your Jimdo account.
- Click on “Create Website” on the dashboard.
- Select a template from the template gallery.
Templates are categorized for different needs. Categories include business, portfolio, personal, and more. Each template is responsive and looks good on all devices.
Customizing Design
Once you have selected a template, customize it to match your brand. Jimdo’s editor is user-friendly and offers various design options:
- Colors: Choose colors that align with your brand.
- Fonts: Select fonts that enhance readability.
- Images: Upload high-quality images to make your site visually appealing.
Use the drag-and-drop editor to adjust the layout. This allows you to place elements exactly where you want them.
| Feature | Options |
|---|---|
| Header | Logo, Navigation Menu, Contact Info |
| Footer | Social Media Links, Copyright Info |
| Sidebar | Blog Categories, Recent Posts |
Preview your changes before publishing. This ensures your website looks perfect.
Adding Content
Adding content to your Jimdo website is straightforward. Content brings your site to life and attracts visitors. Follow these steps to add text, images, and videos. Let’s dive in!
Text And Images
Begin by adding text to your Jimdo site. Click “Add Element” and choose “Text.” Type your content directly in the text box. Use the toolbar to format your text. You can make it bold, italic, or even change the font size.
Next, add images to enhance your content. Click “Add Element” and select “Image.” Upload an image from your computer or choose one from Jimdo’s library. To adjust your image, use the drag handles. You can resize or reposition it easily.
Alt text is important for images. It helps with SEO and accessibility. Add descriptive alt text for every image you upload.
Embedding Videos
Embedding videos can make your site more engaging. Click “Add Element” and select “Video.” You will see options to embed from YouTube or Vimeo. Paste the video link in the provided field.
Adjust the video size and position as needed. Make sure your videos are relevant to your content. Adding captions to videos can also improve accessibility.
Keep your videos short and to the point. Visitors prefer concise and informative videos.
Credit: www.jimdo.com
Setting Up Pages
Creating a well-structured website is essential. With Jimdo, you can easily set up and manage your pages. This guide will help you create new pages and organize your navigation effectively.
Creating New Pages
To create new pages in Jimdo, follow these simple steps:
- Log in to your Jimdo account.
- Navigate to the site editor.
- Click on the “Pages” tab.
- Select the “Add Page” button.
- Enter a name for your new page.
- Click “Save” to create the page.
Creating a new page is quick and easy. You can add content like text, images, and videos to your new page by using the drag-and-drop editor.
Organizing Navigation
Organizing your site’s navigation helps visitors find information quickly. Follow these steps to arrange your navigation:
- Go to the “Pages” tab in the site editor.
- Click and drag pages to reorder them.
- Use the “Subpage” option to create dropdown menus.
- Group related pages together for better structure.
- Click “Save” to apply changes.
Creating a clear navigation structure improves user experience. Consider adding main categories and subcategories to keep your site organized.
For example:
| Main Page | Subpages |
|---|---|
| About Us | Our Story, Team, Careers |
| Services | Consulting, Development, Design |
| Contact | Contact Form, Locations, Support |
Organizing your navigation with clear categories helps users find what they need. This makes your site more user-friendly.
Integrating Features
Jimdo is a powerful website builder. It offers various features to enhance your site. These features help you engage visitors and grow your online presence.
Adding A Blog
Creating a blog with Jimdo is simple. Go to your Jimdo dashboard. Click on “Blog” to start. You can add posts easily. Use the text editor to write your content. Add images to make posts more attractive. Consistently update your blog to keep visitors engaged. Regular posts improve SEO, drawing more traffic to your site.
Setting Up An Online Store
Jimdo also allows you to set up an online store. Click on “Store” in the dashboard. Add products with descriptions and prices. Upload high-quality images for each item. Set up payment methods like PayPal. Ensure your store policies are clear. This includes shipping and return policies. Regularly update your inventory for accuracy. A well-managed store boosts customer trust and sales.
Seo Optimization
SEO optimization is crucial for improving your website’s visibility on search engines. It ensures your site reaches more people and ranks higher in search results. Using Jimdo, you can easily optimize your site for SEO. Let’s explore some key aspects of SEO optimization, including using keywords and improving site speed.
Using Keywords
Keywords are essential for SEO. They help search engines understand your content. Here’s how to use keywords effectively on Jimdo:
- Research Keywords: Use tools like Google Keyword Planner. Find relevant keywords for your niche.
- Use Keywords Naturally: Include keywords in your titles, headings, and content. Avoid keyword stuffing.
- Meta Descriptions: Add keywords to your meta descriptions. This helps search engines and users understand your page.
- Alt Text for Images: Use keywords in the alt text of your images. This improves your image search rankings.
| Keyword Placement | Best Practices |
|---|---|
| Title | Include primary keyword at the beginning |
| Headings | Use keywords in H1, H2, H3 tags |
| Content | Use keywords naturally within the text |
| Meta Description | Include keywords for better search engine visibility |
Improving Site Speed
Site speed is a critical factor for SEO. A fast website provides a better user experience. Follow these tips to improve your site speed on Jimdo:
- Optimize Images: Compress and resize images before uploading them. Large images slow down your site.
- Minimize HTTP Requests: Reduce the number of elements on each page. This includes scripts, images, and CSS files.
- Enable Browser Caching: Allow browsers to cache your site. This speeds up loading times for returning visitors.
- Use a Content Delivery Network (CDN): Distribute your content across multiple servers. This reduces load time.
- Minify CSS and JavaScript: Remove unnecessary characters from your code. This makes your site load faster.
By focusing on these aspects, you can significantly improve your site’s SEO performance on Jimdo. Remember, good SEO practices lead to better visibility and more traffic.
Connecting A Domain
Connecting a domain to your Jimdo website is simple. Access your Jimdo dashboard, navigate to the domain settings, and follow the step-by-step instructions.
Connecting a domain to your Jimdo website is essential. It helps establish your online presence. Follow these simple steps to get your domain linked.
Purchasing A Domain
First, you need a domain. You can buy one through Jimdo. They offer many domain extensions. Choose one that fits your brand best. The process is simple and quick.
Log into your Jimdo account. Go to the domain section. Select “Purchase a new domain.” Follow the prompts. Enter your desired domain name. Check its availability. If it’s available, proceed to payment. Complete the purchase.
Linking Your Domain
Now, link your domain to your Jimdo site. Go to the domain section in your Jimdo dashboard. Select “Connect your domain.” Enter the domain name you purchased.
Jimdo will guide you through the process. Update your domain’s DNS settings. Point them to Jimdo’s servers. This step is crucial. It ensures your domain directs visitors to your Jimdo site.
The changes may take some time. Sometimes up to 48 hours. Once done, your domain is live. Your site is accessible through your new domain.
That’s it. Your domain is now connected. Your online presence is ready to grow.
Publishing And Maintenance
Publishing and maintaining your Jimdo site is essential for keeping your online presence fresh and engaging. Once your site is ready, you need to publish it for the world to see. Keeping it updated ensures that visitors always see the latest content. Let’s explore how to publish your site and maintain it regularly.
Publishing Your Site
Publishing your site on Jimdo is straightforward. First, log into your Jimdo account. Then, navigate to your site’s dashboard. Click the “Publish” button. Your site will go live instantly. Ensure all your content is ready before hitting publish.
Check every page for errors. Verify all links work. Once published, your site is accessible to everyone. Share your site URL on social media and other platforms. This will drive traffic to your new site.
Regular Updates
Regular updates keep your site relevant. Log in to your Jimdo account frequently. Check for outdated content. Add new blog posts, images, and updates. Update your site’s design if necessary. Fresh content attracts more visitors and improves SEO.
Set a schedule for updates. Weekly or monthly updates work well. Use analytics to see what content is popular. Focus on creating similar content. Engage with your audience through comments and feedback. This helps build a loyal following.

Credit: thewebsitejumpstart.com
Frequently Asked Questions
How Do I Create A Jimdo Account?
To create a Jimdo account, visit the Jimdo website and click “Sign Up. ” Follow the prompts to enter your details.
Can I Customize My Jimdo Website?
Yes, Jimdo offers various templates and customization options. You can edit text, images, and layout easily.
Is Jimdo Good For E-commerce?
Jimdo is great for e-commerce. It provides tools for product listings, payment processing, and managing orders efficiently.
How Much Does Jimdo Cost?
Jimdo offers free and premium plans. Premium plans start at around $9 per month, providing additional features and support.
Conclusion
Creating a website with Jimdo is simple and efficient. Follow the steps, and you’ll have a professional site. Customize your design to match your brand. Make sure to add relevant content. Keep your site updated regularly. Use Jimdo’s tools to enhance user experience.
Your website will attract more visitors. Start today and see the difference.