Miro is a powerful digital whiteboard perfect for team collaboration. It’s a canvas for all your ideas.
Table of Contents
Mastering Miro can transform how you work, from brainstorming sessions to project management. Imagine a tool that lets your creativity soar while keeping you organized. That’s what Miro promises. But diving into a new platform can feel overwhelming. Don’t worry, we’ll guide you through using Miro, step by step, making it a breeze.
You’ll start by setting up your account. Then, you’ll learn to navigate the interface with ease. We’ll explore creating boards, adding content, and using templates. You’ll see how to invite team members and collaborate in real-time. By the end, you’ll manage tasks, track progress, and share your work, all within Miro. This guide is your ticket to a smooth Miro journey. Let’s unlock the potential of your ideas, one step at a time.
Getting Started With Miro
Welcome to the world of Miro, your new virtual whiteboard. Whether you’re planning projects, brainstorming ideas, or facilitating workshops, Miro offers a seamless experience. Let’s walk through the basics to get you up and running.
Creating Your Account
Begin your Miro journey by creating an account. It’s quick and simple. Follow these steps:
- Visit the Miro website.
- Click on the “Sign Up” button.
- Choose a signup method: email, Google, or social accounts.
- Fill in your details and follow the prompts.
Once done, check your email for a confirmation link. Click it to activate your account.
Navigating The User Interface
The Miro interface is user-friendly. Spend time exploring the layout. Here’s a guide:
- The dashboard is where you find your boards.
- The toolbar on the left helps you add and modify content.
- Use the bottom toolbar for navigation and view settings.
Hover over icons to see what they do. Click around. Learn as you go.
Setting Up Your First Board
Welcome to your first foray into Miro, the visual collaboration platform! Before you dive into the vast ocean of features Miro offers, let’s start with the basics: setting up your very first board. It’s the canvas where your ideas will take shape, your plans will form, and your concepts will come to life. Follow these simple steps to get started.
Choosing The Right Template
Miro provides a plethora of templates to kickstart your project. From flowcharts to mind maps, there’s one for every need. Pick a template that suits your project goal. It saves time and gives you a structure to build on. Look for the template gallery, and select one that fits your workflow.
Customizing Board Settings
With your template in place, it’s time to tailor your board. Adjust the settings to match your team’s style. You can set permissions, decide who can view or edit, and even customize the background. Use the board settings to ensure your workspace aligns with your team’s needs. It’s all about making the space truly yours.
Collaborating In Real-time
Working together in real-time changes everything. It makes ideas flow faster. Miro makes this easy. Let’s see how.
Inviting Team Members
First step: Get your team on board. Open Miro. Find the ‘invite’ button. Click it. Enter their emails. Send invites. Now, wait for them to join. Simple.
Using Chat And Video Functions
Next, talk and see each other. Find the chat icon. Click it. Start typing. For video, look for the camera icon. Click to start a call. See faces, share screens. Work feels more like being together. That’s it.

Credit: www.youtube.com
Integrating Tools And Apps
Miro serves as a dynamic canvas for your ideas and projects. Integrating tools and apps into Miro enhances productivity. Connect with your favorite services for a seamless workflow.
Connecting With Google Drive
Linking Miro with Google Drive is simple. Follow these steps:
- Open your Miro dashboard.
- Click on the ‘Marketplace’ icon on the left.
- Search for ‘Google Drive’.
- Install the Google Drive app.
- Access Google Drive files directly within Miro.
Save time and keep all resources in one place. No more switching tabs.
Adding Jira Cards
Integrate Jira to streamline project management:
- Go to the ‘Marketplace’ in Miro.
- Find and install the Jira app.
- Connect your Jira account.
- Drag and drop Jira cards into Miro boards.
Collaborate on tasks with your team in real-time. Track progress visually.
Mastering Advanced Features
Mastering the advanced features of Miro unlocks a new level of collaboration and efficiency. From implementing complex frameworks to creating your own templates, these features allow teams to streamline their workflow. Let’s dive into how you can leverage these powerful tools to enhance your projects.
Implementing Frameworks And Models
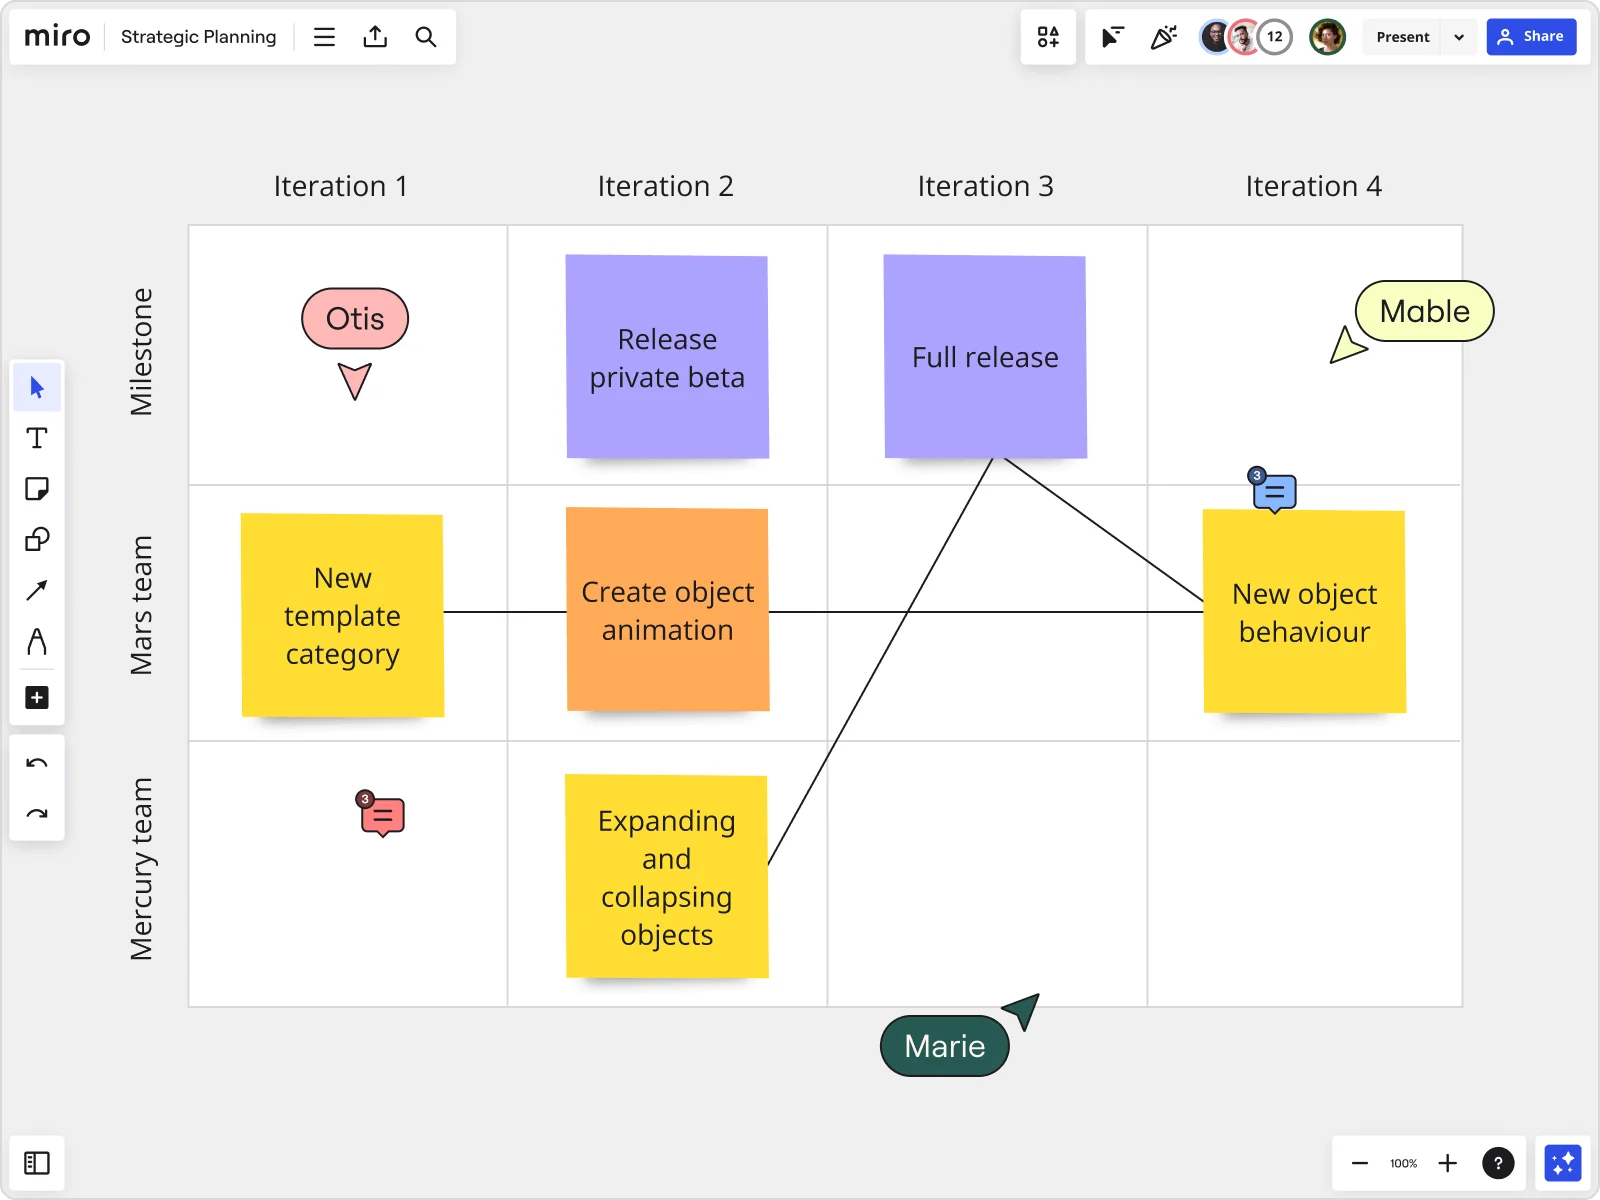
Miro’s frameworks and models can transform the way your team tackles projects. They provide a structured approach to brainstorming, planning, and problem-solving. Start by selecting the ‘Frameworks’ icon on the left sidebar. Choose from popular options like SWOT analysis, Kanban boards, or mind maps. Drag your chosen framework onto the board. Customize it with colors, icons, and text. This visual method helps teams synthesize information and strategize effectively.
Creating Custom Templates
Custom templates in Miro save time and maintain consistency across projects. Begin by setting up a board that fits your team’s workflow. Add shapes, sticky notes, and whatever else you need. Once satisfied, click on the ‘Template’ icon on the bottom toolbar. Select ‘Save as template’. Give it a name and description. Your template is now ready to be used in future projects, ensuring each session starts on the right foot.
Credit: miro.com
Organizing Your Boards
Organizing boards in Miro is easy. It keeps work neat and easy to find. Let’s dive into how you can do this. We’ll look at using folders and projects first. Then, we’ll cover sharing and permissions. This way, your boards are always right where you need them.
Using Folders And Projects
Start by creating folders. Think of them as big boxes. In these boxes, you put projects. Projects are smaller boxes inside the big ones. They hold your boards. To create a folder, click ‘New’ then ‘Folder’. Name it. Now, do the same for a project inside your folder. Drag boards into your project. Simple.
Sharing And Permissions
Next, let’s talk about sharing. You can share a whole folder or just a board. Click on the folder or board. Choose ‘Share’. Pick who to share it with. You decide who can see or edit. For boards, click ‘Share’ on the board. Choose ‘Invite’. Type in emails. Select ‘Can view’ or ‘Can edit’. Done. Your team can now see or change the board.
Exporting And Sharing Your Work
Once you’ve created a masterpiece on Miro, you’ll want to share it. Miro makes exporting and sharing simple and efficient. Whether it’s for a presentation, a report, or web integration, the platform supports multiple export formats. Let’s dive into the ways you can share your Miro boards with the world.
Export Options
Miro offers a variety of export options to fit your needs. You can download your boards as image files, PDFs, or even in a vector format. This ensures you have the right type of file for any situation. With high-quality exports, your visuals stay sharp and professional.
Embedding Boards On Websites
Embedding Miro boards on your website can enhance user engagement. It’s a breeze with the provided HTML code snippet. Just copy and paste it into your website’s code. Your visitors will see your interactive board without ever leaving your page. It’s a seamless way to display your work.

Credit: miro.com
Best Practices And Tips
Mastering Miro starts with understanding the best practices and tips to enhance your workflow. These strategies will help you navigate Miro’s interface with ease and collaborate more effectively.
Keyboard Shortcuts
Efficiency is key in Miro. Keyboard shortcuts save time and streamline your process. Below are shortcuts that will keep you moving fast:
V– Select toolT– Text toolF– Frame toolZ– Zoom toolCtrl + Z– Undo actionCtrl + Y– Redo action
Remember these shortcuts for a smoother experience.
Community And Resources
Miro’s community is a wealth of knowledge. Engage with it to learn more.
Resources include:
- User forums
- Expert webinars
- Interactive templates
Tap into these to enhance your skills.
Frequently Asked Questions:
What Is Miro And Its Main Features?
Miro is an online collaborative whiteboarding platform. It enables remote teams to brainstorm, plan, and collaborate in real-time. Key features include infinite canvas, pre-built templates, and integration with popular tools like Slack and Jira.
How To Create A New Board In Miro?
To create a new board in Miro, click the “+” sign on the dashboard. Choose a template or start with a blank board. Give it a name and you’re ready to collaborate with your team.
Can You Collaborate In Real-time On Miro?
Yes, Miro supports real-time collaboration. Multiple users can work on the same board simultaneously. Changes are updated live for all participants, enhancing teamwork and productivity.
What Are Miro’s Integration Capabilities?
Miro integrates with many tools such as Google Suite, Microsoft Teams, Slack, and Jira. These integrations streamline workflows by connecting Miro with other digital workspaces and communication platforms.
Conclusion
Navigating Miro is straightforward once you grasp the basics. Start by setting up your board and inviting team members. Add sticky notes, images, and diagrams to brainstorm effectively. Use templates to save time and maintain organization. Remember, practice leads to smoother collaboration.
With each step, your workflow will become more efficient. Embrace Miro’s simplicity to enhance your team’s productivity. Keep exploring its features for the best results. Your next project awaits, ready for the clarity that Miro can provide. Ready to dive in?
Give Miro a try and see the difference for yourself.